These are the alternatives to avoid the hazards of hot work and allow you to repair structures and equipment that maybe there is not enough material to weld.
Plate bonding is a cold-applied composite repair method where a metal plate is permanently bonded over damaged or weakened areas of equipment using high-performance composite repair materials.
Why choose plate bonding over welding?
Avoid Hot Work Hazards
No sparks, no flames, making it ideal for hazardous or flammable environments
Eliminates need for hot work permits
Minimize Downtime
Cold-applied, fast-curing systems get equipment back online faster
With USI’s training, maintenance teams can complete the work without bringing in a certified welder
Stronger than welds in many situations
Excellent adhesion and mechanical strength
Distributes stress across the bonded area without heat distortion
Non-corrosive
How it’s done – 5 Easy Steps
Surface Preparation – Substrate and Plate
Degrease the surface using a suitable solvent like USI’s Universal Cleaner to remove oil, grease and contaminants.
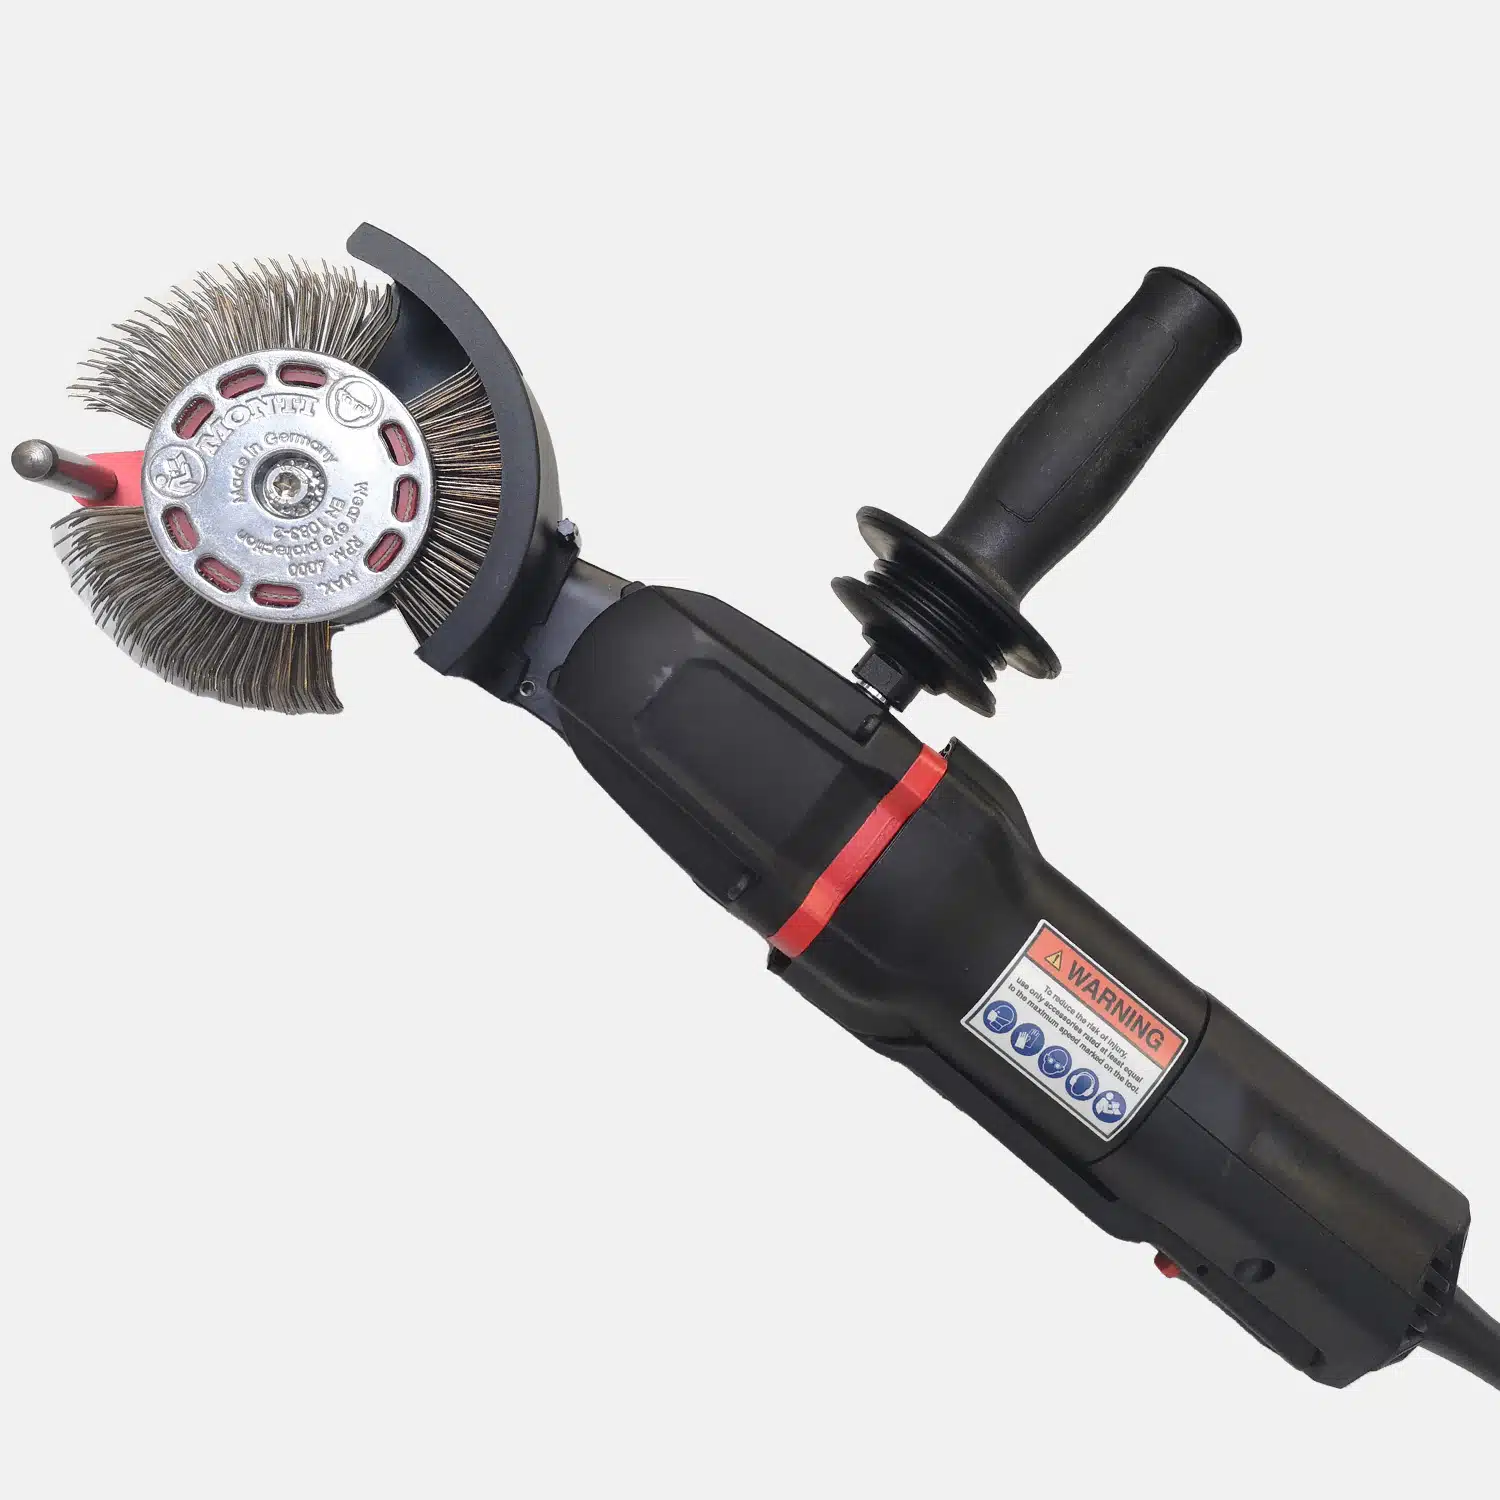
Mechanically abrade the area using an angle grinder fitted with a coarse pad or grinding disc. USI suggests a MBX bristle blaster for the best surface profile. You can also manually abrade the surface with a wire brush, sandpaper or metal file. Always follow the TDS for surface preparation.
Remove all loose debris and clean again with solvent to ensure a clean bonding surface.
Dry Fit Check
Position the plate over the damaged area and mark its placement
Ensure proper alignment, surface contact and accessibility for application
Mix the base and activator thoroughly until a consistent color and texture are achieved in the trio on the TDS.
Application
Apply a uniform layer of mixed product to both the substrate and the back of the plate
Use a trowel or spatula to ensure even coverage and eliminate air pockets
Firmly press the plate into position, sliding slightly to seat the bond.
Clamping (if required)
Apply mechanical pressure using clamps, weights or magnets to hold the plate in place during cure (especially for vertical or overhead surfaces)
Maintain pressure according to cure time guidelines
Curing
Allow the repair to fully cure before returning to service
Cure time varies by product and environment but typically ranges from 6 to 24 hours
For faster returns to service, optional heat curing may be used if appropriate
Final Inspection
Verify bond integrity, inspect for gaps or voids, and test hardness (if required)
Optional: Apply a protective topcoat or corrosion-resistant finish. Resimac has many different overcoat protection options, each tailored to a different environment. Make sure to talk to a USI expert technical advisor to get the right coating for your environment.
Make sure to view the video in its entirety to get the answers to the questions covered in the podcast:
Can you use this system for load-bearing repairs?
What are the most common mistakes when making plate bonding? How can they be avoided?
What are the temperature limitations on this material?
What are the labor time savings using plate bonding vs. hot work methods?
Resimetal 101 Industrial Epoxy Metal Repair Paste/Glue
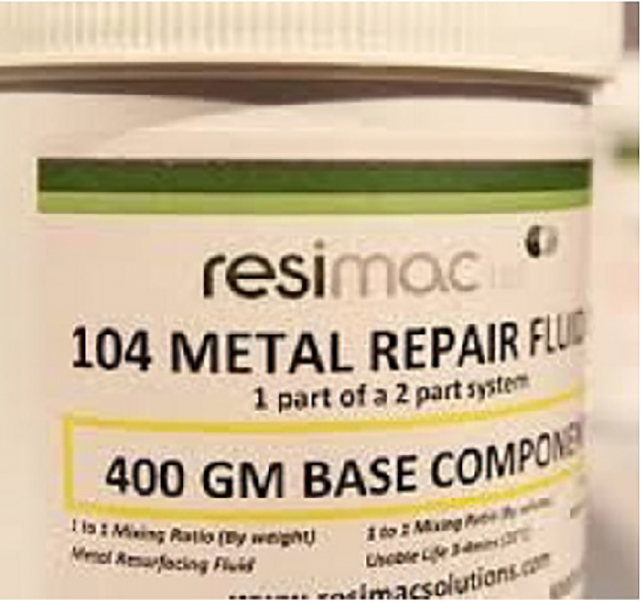
Resimac Resimetal 104 XF Metal Repair Fluid
Resimac Resimetal 106 XF Metal Repair Paste
MBX® Bristle Blaster: Corrosion Removal and Surface Preparation